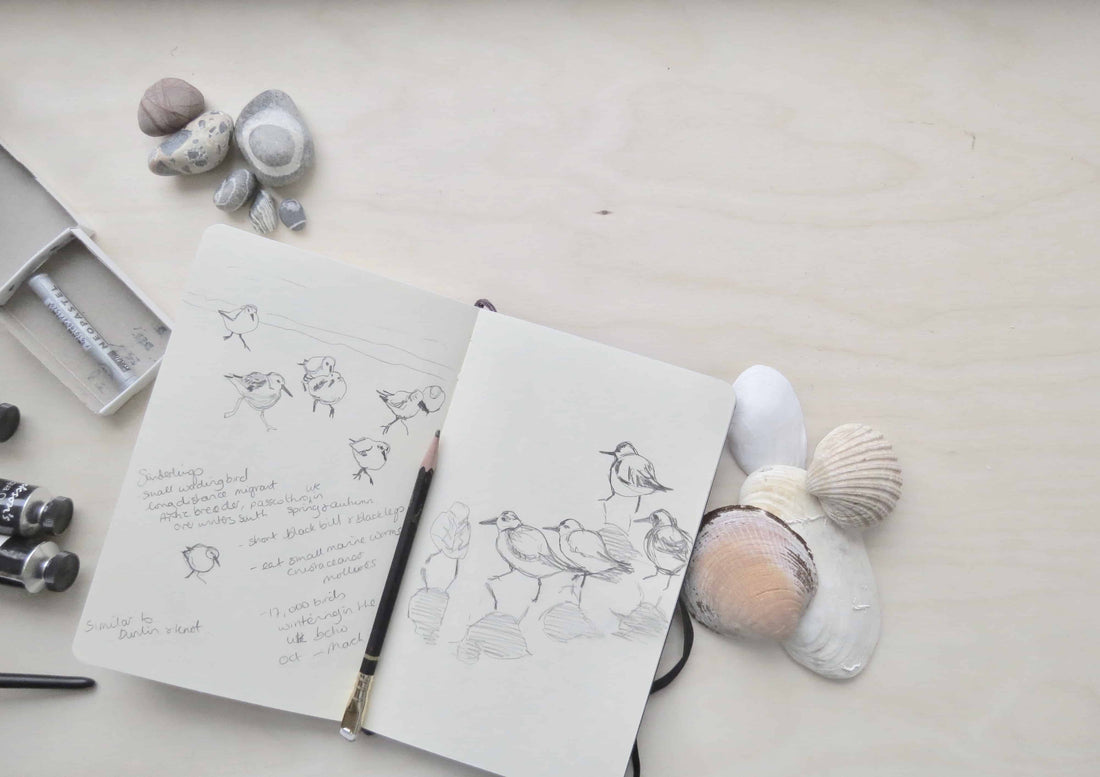
Purple Crayon Art drawing class 1: learning to look
I believe everyone can draw, even those who think they can't. If you can draw your letters, then you can learn to draw anything else too. If you think how many times you've drawn the letter 'a' and how it has improved since the very first time you drew it - think how good your drawing could be with as much practice!
If we look at how others have drawn we can get a sense of what can be achieved, and how we'd like our drawings to look.
Today we are going to look at artist Matisse for some examples of how less is more when it come to drawing. These links will show you some of his drawings, have a look at them, and consider
- how few lines he uses to describe form
- how the weight of his line varies
- how in a line drawing he captures form in a single line
- how in a tonal drawing he uses line to give a sense of shadow and form
http://www.henri-matisse.net/drawings.html or google 'matisse drawings' to see a wide range of the types of drawings he did and why he did them.
When I start a class I usually get the participants to do a drawing so I can pitch the level right. In a blog I can't do that so I hope you can take something from this, no matter what experience you have.
what do I need?
There are many "sketching" pencils sold in boxed sets. They have pencils of differing hardness of graphite to make darker or lighter lines. I tend to use a 2B pencil most of the time. A 2B gives you a lovely dark line, and can give a soft line. It's a matter of personal preference, but worth trying different pencils to see how you get on.
Why draw?
Drawing, for me, is a way to explore my subject. It is how I get to the "essence" of it. How I work out what makes it look like it is the thing it is. It's how I work out compositions for paintings. It's how I explore the shape and form of my subject. Drawing can take many forms and doesn't always have to involve a pencil. Some people draw with wire, some draw with felt tips, some draw in sand, some draw in clay, others draw in lino to make linocut prints, some doodle with biros or other pens. It's a very open term and always about exploring form, dark and light, pattern and your reaction to your subject. Whether you want to show the softness of fur, the spikey-ness of a pineapple, the expression of your loved one, the crazyness of your dog, the majestic beauty of a landscape, the delicate-ness of a flower - it's always your response to your subject. It should never be able what others think or do, it's your drawing - unless of course you ask them. What doesn't show off the nature of your subject thought is hairy drawing - unless its is a hairy subject that is.
This is what my tutors used to call "a hairy drawing". It's a line drawing that
doesn't have any tone and suggests that a daffodil is hairy. To make your drawings less hairy and to be able to put down a line confidently you need to learn to become a much better looker. Looking is something that we often don't do enough of when we are inexperienced at drawing. We draw what we think we see rather than actually what we see. The hairy lines cover up this lack of looking. So how do I avoid a hairy drawing?
Today we are going to look at some techniques that I use to "get my eye in" when I'm starting to draw something i've not drawn before, they are exercises that help you to look properly and start to draw the lines that actually describe the shape more accurately. They are also techniques I use to get over "masterpieces syndrome". This is where we start a drawing thinking it will be an instant masterpiece. By doing these exercises we are letting go of the idea of doing a good drawing, and allowing ourselves to play with the line.
First of all I'd like you to find some paper and a pen or pencil. You don't need fancy paper, just something to make marks on and make marks with. You also need to find an item/subject for your drawing.
exercise 1: blind drawing

Set yourself up with your pencil touching the middle of the paper, then without looking at your drawing at all, I want you to use your eyes to look along the edge of your item and draw what you see as you go. Do not take your pen off the page, just do it in one continuous line. The result will be a bit odd but it should capture a bit about the shape of the item. Do this 3 or 4 times until you think you are starting to get the shape of the item. Here's one I did earlier.
It doesn't exactly look like a daffodil, but it's got something daffodil about it. Once you'd done a few blind drawings, I'd like you to now draw your subject and allow yourself to look the drawing so you can roughly get the lines in the right place.
exercise 2: a single line drawing

Again put your pencil/pen onto the paper and don't take it off until you've finished your drawing. This stops you from doing hairy lines. Make sure you are looking all the time. At least 50% of the time should be spent looking at your subject and 50% looking at the marks you are making on the paper. No erasers are allowed in this exercise. It's just for fun and we can repeat it as many times as it takes to be happy with what we've drawn.
Here's one I did earlier. It is still not a complete drawing but it's getting closer to resembling the tete a tete narcissi that i was attempting to draw.
Have a second go and try to vary the weight of your line - look at how that changes the drawing. We will look at this more in a later class but it's worth just starting to explore now.
exercise 3: doing a tonal drawing
We will look more at tonal drawings in the next class, but I'd like you to now have a go at a line and tone drawing. I'd like you to make sure you continue to look properly but also add in some tone - ie the dark and light bits of the drawing. Choose the very darkest part of the drawing first - make that really dark - then everything else can refer to that level of tone. I work this out by squinting at the subject, it helps me identify the major tones - have a try.

Here's my example of a quick tonal drawing. In this drawing you can use an eraser. If you end up with an area too dark, use the eraser to take it back to the tone you want. If you are struggling to identify the tones - set your subject next to a window or a light source - it makes it a lot easier to identify the dark and light areas.
Remember that your drawing is not going to be the same as mine or anyone elses. It is you personal response to your subject.
I hope you've enjoying playing with line in these exercises. There is a youtube video to go with this blog - in it I talk you through the same exercise but with a different subject. If you subscribe to my youtube channel you'll get notifications when the next video is published too.
If you'd like feedback on your drawing - post it on the facebook post where this blog is shared and I can message you a response, or post it as a comment on this blog post.
And remember you will only get better if you do more drawing. Like all skills, the more we do the more we understand and the more experienced we become.
Happy drawing.
Sandra x
click here to go to Purple Crayon Art drawing class 2

1 comment
This is just lovely Sandra- what a fantastic thing to do!